
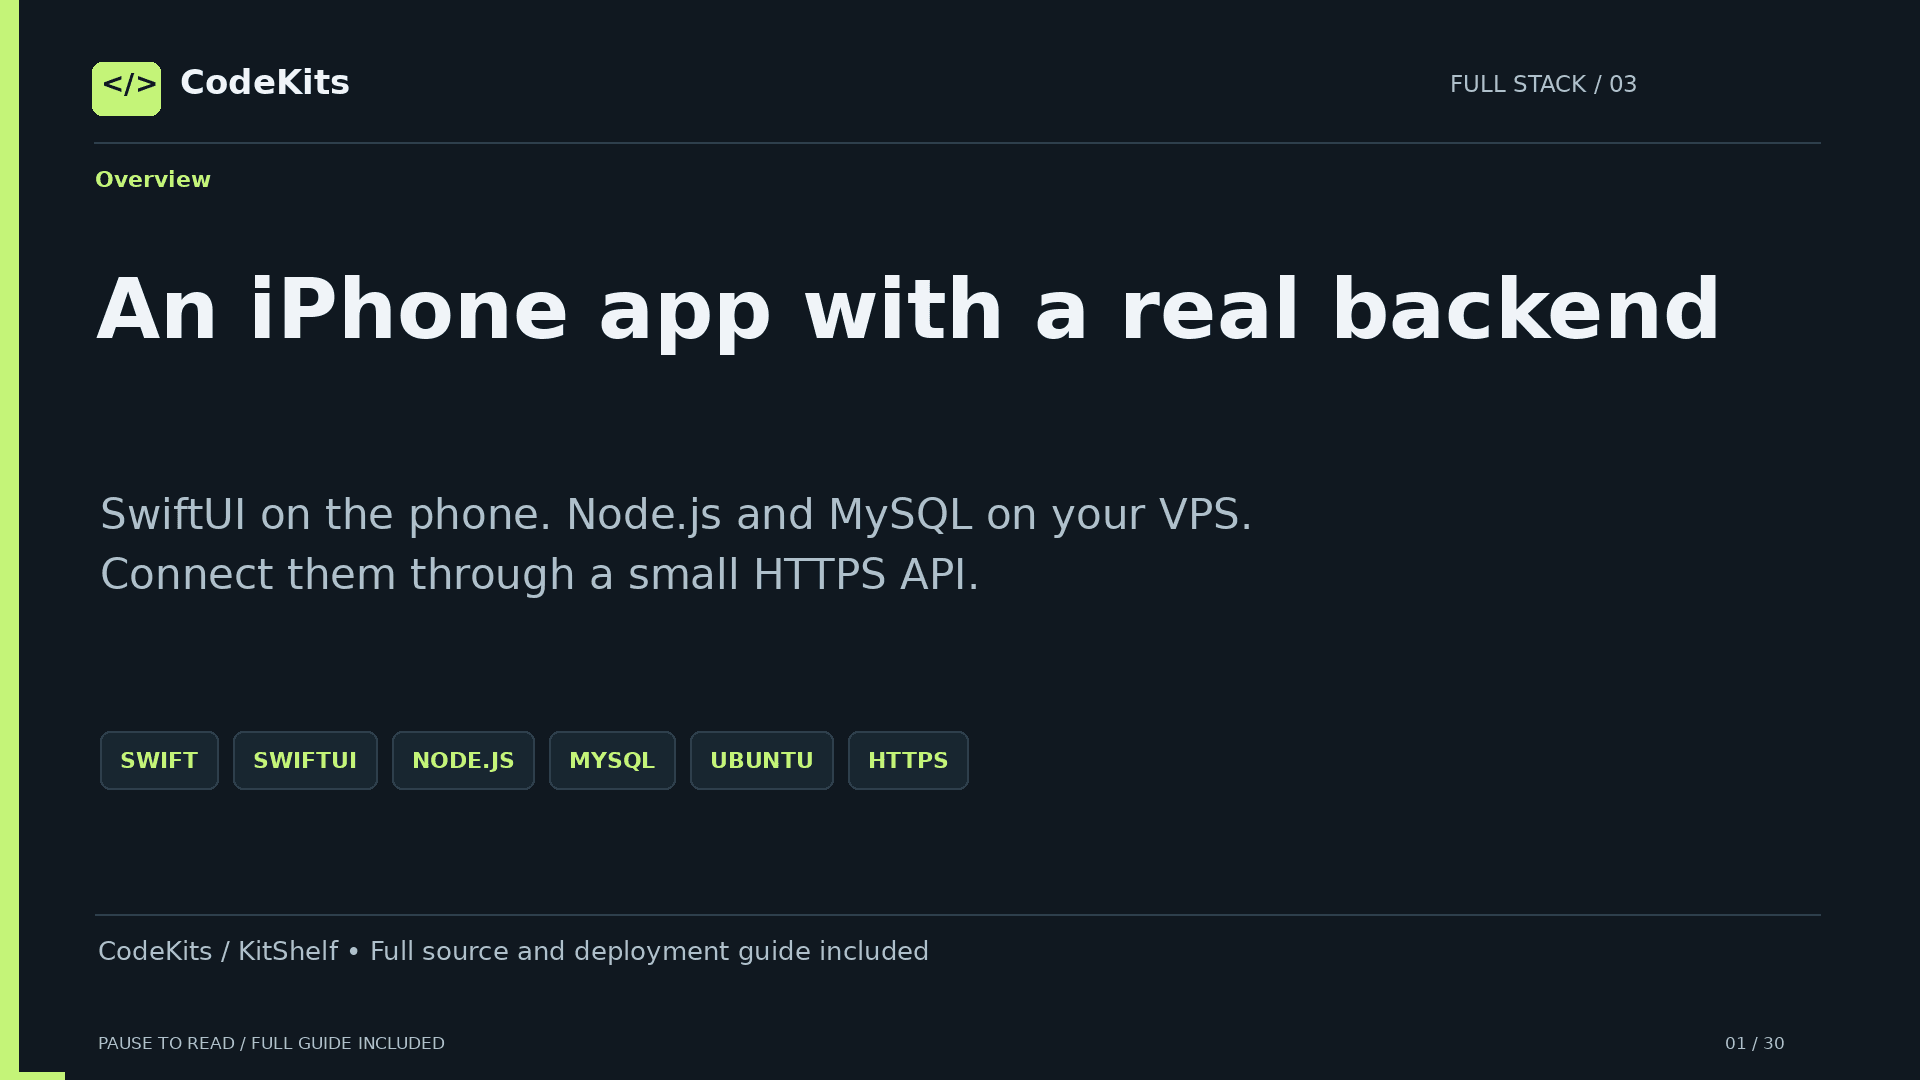
Build KitShelf, a SwiftUI catalogue app backed by a Node.js API and a MySQL database on Ubuntu. Includes search, details, refresh and error handling.
This illustrated tutorial explains the code and deployment steps. Watch the 14-minute narrated walkthrough, then follow the written guide below. It is not a recording of a live Xcode or VPS deployment. Six API HTTP tests with database doubles passed; Apple SDK compilation and live MySQL, VPS and TLS verification remain to be completed in your own environment.
Downloads
All excerpts are focused teaching fragments. Use the full source files and README in the starter.
An iPhone app with a real backend
SwiftUI on the phone. Node.js and MySQL on your VPS. Connect them through a small HTTPS API.
CodeKits / KitShelf • Full source and deployment guide included
Know what runs where
The iOS app runs on the phone. Nginx, Node and MySQL run on Ubuntu. The app never logs directly into MySQL.
iPhone: SwiftUI + URLSession
   HTTPS → Nginx :443
             → Node.js 127.0.0.1:3000
                 → MySQL 127.0.0.1:3306
This lesson builds a public read-only catalogue; private accounts need authentication.
What you need
Use a Mac with compatible Xcode, an iOS simulator, a fresh Ubuntu 24.04 LTS VPS and a domain you control.
App target: iOS 17+
Server: Ubuntu 24.04 LTS
Runtime: supported Node.js 24
Database: Ubuntu MySQL package
Example host: api.example.com
Replace api.example.com and VPS_IP throughout. Do not run fresh-server scripts on an existing production database.
Read the starter structure
The kit separates the native app, API, SQL and infrastructure. It includes complete files, not just these excerpts.
project/ios/KitShelf.xcodeproj
project/ios/KitShelf/ContentView.swift
project/api/app.mjs + server.mjs
project/database/schema.sql
project/deploy/ + scripts/
No passwords or private API keys belong in the iPhone app.
Connect the API hostname
Create an A record for api pointing to your VPS IPv4 address. Add AAAA only if you also configure working IPv6.
# On your Mac:
ssh root@VPS_IP
# On the VPS:
adduser deploy
usermod -aG sudo deploy
Use your provider’s initial sudo account instead if root login is disabled.
Add your SSH key and test it
Copy your existing public key to the new account. Keep the original session open until a second login works.
# Mac: use an existing key, or create one
ssh-keygen -t ed25519
cat ~/.ssh/id_ed25519.pub | ssh root@VPS_IP \
 "install -d -m 700 -o deploy -g deploy /home/deploy/.ssh; \
 cat >> /home/deploy/.ssh/authorized_keys; \
 chown deploy:deploy /home/deploy/.ssh/authorized_keys; \
 chmod 600 /home/deploy/.ssh/authorized_keys"
ssh deploy@VPS_IP
Do not overwrite an existing key. This example assumes provider root SSH access.
Install the server packages
Run updates and install Nginx, MySQL, transfer tools and firewall support.
sudo apt update
sudo apt upgrade -y
sudo apt install -y nginx mysql-server ufw \
 curl ca-certificates xz-utils openssl rsync snapd
sudo systemctl enable --now nginx mysql
If a reboot is required, reboot and reconnect before continuing.
Open only the public services
Allow your SSH port before enabling UFW. Match the cloud provider firewall to these rules.
sudo ufw allow OpenSSH
sudo ufw allow "Nginx Full"
sudo ufw enable
sudo ufw status
OpenSSH assumes port 22. Do not expose ports 3000 or 3306 publicly.
Upload the server source
From the extracted project directory on your Mac, copy only the server folders. Install Node on the VPS.
# Mac, inside project/:
ssh deploy@VPS_IP "mkdir -p ~/kitshelf"
scp -r api database deploy scripts deploy@VPS_IP:~/kitshelf/
# VPS:
cd ~/kitshelf
bash scripts/install-node24.sh
node --version
The installer verifies SHA-256 and installs the latest patched Node 24. Updates are manual.
Create the database and seed data
The setup script creates a catalogue, a SELECT-only account, loopback binding and a root-only environment file.
bash scripts/init-database.sh
sudo mysql kitshelf -e "SELECT id,title FROM kits;"

# The app account can only read:
GRANT SELECT ON kitshelf.*
TO 'kitshelf'@'127.0.0.1';
Run the script once. The GRANT shown is an explanation of what it does.
Understand the table
Use stable numeric IDs and explicit field names. The JSON and Swift models will follow this shape.
CREATE TABLE kits (
 id INT UNSIGNED AUTO_INCREMENT PRIMARY KEY,
 title VARCHAR(120) NOT NULL,
 category VARCHAR(50) NOT NULL,
 summary VARCHAR(240) NOT NULL,
 body TEXT NOT NULL
);
The supplied schema includes sample rows. Do not run CREATE TABLE again after setup.
Create a route and JSON contract
Express maps URLs to code. The API sends an envelope containing a list of kits.
app.get('/api/kits', async (_req, res, next) => {
  try {
    const [kits] = await db.execute(
      'SELECT id,title,category,summary,body FROM kits LIMIT 100');
    res.json({ kits });
  } catch (error) { next(error); }
});
This is an excerpt. Full code adds stable ordering, status codes and safe error handling.
Parameterise lookups
Validate route input and bind values separately from SQL. Do not concatenate user input into a query.
const [rows] = await db.execute(
  'SELECT id,title,category,summary,body FROM kits WHERE id = ?',
  [id]
);
if (!rows.length) {
  return res.status(404).json({ error: 'Kit not found' });
}
The full route validates a positive safe integer before querying.
Keep connection secrets on Ubuntu
server.mjs reads environment variables and creates a small pool. systemd supplies the root-owned environment file.
const db = mysql.createPool({
  host: '127.0.0.1',
  user: process.env.DB_USER,
  password: process.env.DB_PASSWORD,
  database: process.env.DB_NAME,
  connectionLimit: 5
});
Never add DB credentials to Swift, Git, NEXT_PUBLIC variables or browser code.
Deploy and start the API
The deployment script installs locked dependencies, runs API tests, copies files and installs a systemd service.
bash scripts/deploy.sh
curl -f http://127.0.0.1:3000/api/health
curl -f http://127.0.0.1:3000/api/kits
sudo journalctl -u kitshelf -n 50 --no-pager
Expected health JSON: {"status":"ok"}. Examples are expected results, not a live deployment log.
Understand the service
The process runs as a dedicated account and restarts after failure or reboot. The service uses an absolute Node path.
[Service]
User=kitshelf
WorkingDirectory=/srv/kitshelf/api
EnvironmentFile=/etc/kitshelf.env
ExecStart=/opt/node24/bin/node server.mjs
Restart=on-failure
Database credentials stay in /etc/kitshelf.env, outside deployed source.
Route public traffic to Node
Edit the supplied configuration with your real API domain, install it, then test before reloading.
nano deploy/nginx.conf
sudo cp deploy/nginx.conf /etc/nginx/sites-available/kitshelf
sudo ln -s /etc/nginx/sites-available/kitshelf \
 /etc/nginx/sites-enabled/kitshelf
sudo nginx -t
sudo systemctl reload nginx
Use this site name once. On repeat deployments, reuse the existing symlink.
Preserve the API path
No trailing slash on proxy_pass means /api/kits reaches Node as /api/kits. Nginx also limits request bursts.
location /api/ {
    proxy_pass http://127.0.0.1:3000;
    proxy_set_header Host $host;
    proxy_set_header X-Forwarded-Proto $scheme;
}
# Mac: verify DNS and HTTP before issuing TLS
curl -f http://api.example.com/api/health
The full configuration includes rate limiting and timeouts. No CORS setup is needed for the native app.
Issue a trusted certificate
Once DNS resolves correctly and HTTP works, install Certbot and enable HTTPS for the API host.
sudo snap install --classic certbot
sudo /snap/bin/certbot --nginx -d api.example.com
sudo /snap/bin/certbot renew --dry-run
# Mac:
curl -f https://api.example.com/api/kits
Use the snap consistently; remove conflicting apt Certbot packages first if present.
Create or open the iOS project
Open KitShelf.xcodeproj, select a simulator and set the real HTTPS URL in APIClient. Keep one @main App entry.
let baseURL = URL(string: "https://api.example.com")!

// Full project: ContentView.swift
// Build: Command-B
// Run: Command-R
Do not use localhost for a remote VPS: on an iPhone it means the iPhone itself.
Match JSON with Decodable
Swift decodes the API envelope. Property names and types must match the JSON response.
struct Kit: Decodable, Identifiable {
    let id: Int
    let title: String
    let category: String
    let summary: String
    let body: String
}
struct KitEnvelope: Decodable { let kits: [Kit] }
A type mismatch becomes a decoding error. Inspect the actual JSON when debugging.
Fetch asynchronously with URLSession
Await the network request, check the HTTP status, then decode. Networking errors and HTTP errors are different.
let (data, response) = try await URLSession.shared.data(for: request)
guard let http = response as? HTTPURLResponse,
      (200..<300).contains(http.statusCode) else {
    throw APIError.invalidResponse
}
return try JSONDecoder().decode(KitEnvelope.self, from: data).kits
The full APIClient sets an Accept header, timeout and helpful HTTP error messages.
Publish state on the main actor
The store owns loading, data and error state. defer resets the spinner even when the request fails.
@MainActor final class KitStore: ObservableObject {
    @Published var kits: [Kit] = []
    @Published var isLoading = false
    @Published var errorMessage: String?
    // load(): await client.fetchKits()
}
The full store avoids overlapping loads and handles task cancellation.
Render data and navigate
The list turns server records into rows. A detail view receives the selected loaded record.
ForEach(filteredKits) { kit in
    NavigationLink {
        KitDetailView(kit: kit)
    } label: {
        Text(kit.title)
    }
}
The demo searches up to 100 loaded rows locally. Larger catalogues need server pagination.
Refresh, loading and errors
Use task for the initial fetch and refreshable for pull-to-refresh. Give users retry and empty states.
.task { if store.kits.isEmpty { await store.load() } }
.refreshable { await store.load() }
.searchable(text: $search)

// Retry button action:
Task { await store.load() }
A failed refresh keeps previously loaded content. The app has no offline database cache.
Change MySQL, refresh the phone
Update one seed row locally on the VPS, then pull to refresh. This checks the complete chain.
sudo mysql kitshelf -e \
 "UPDATE kits SET title='Updated from Ubuntu' WHERE id=1;"
curl -f https://api.example.com/api/kits
Expected: the changed title appears in JSON and then in the app. Verify this on your own VPS.
Find the failing layer
Work from the inside out: database, Node, Nginx, HTTPS and then Swift decoding.
503 → check MySQL and journalctl
502 → check systemd and loopback port 3000
TLS error → check hostname, DNS and certificate
Decode error → compare JSON keys and Swift types
Empty UI → check data, filters and loading/error state
Keep ATS and certificate validation enabled. Do not solve HTTPS errors by disabling security.
Keep the service maintainable
Back up before changes, copy backups off the VPS and test restoration. Re-run deploy for reviewed API updates.
bash scripts/backup.sh
# After uploading reviewed code:
bash scripts/deploy.sh
sudo /snap/bin/certbot renew --dry-run
sudo systemctl status kitshelf nginx mysql
Node in /opt/node24 is not apt-managed. Review security updates and restart after updating it.
From demo to a private product
Add authentication, authorization, input validation and account-specific queries before storing private user data.
A shared API can serve:
• SwiftUI iPhone and iPad apps
• React or Next.js web interfaces
• Rust/Tauri desktop clients

Clients never receive the MySQL password.
An API key bundled in an app is not a user-authentication system.
One app. A connected stack.
You now have the code and deployment steps for KitShelf. Build, test and customise your version with CodeKits.
codekits.shop • Source, command sheets and Mac/VPS validation steps included
Official references
- Apple URLSession
- Apple ATS
- Node release support
- MySQL2 prepared statements
- Ubuntu MySQL
- Ubuntu Nginx
- Certbot
Explore custom apps and websites at CodeKits.
For help building your own application, explore CodeKits development services.